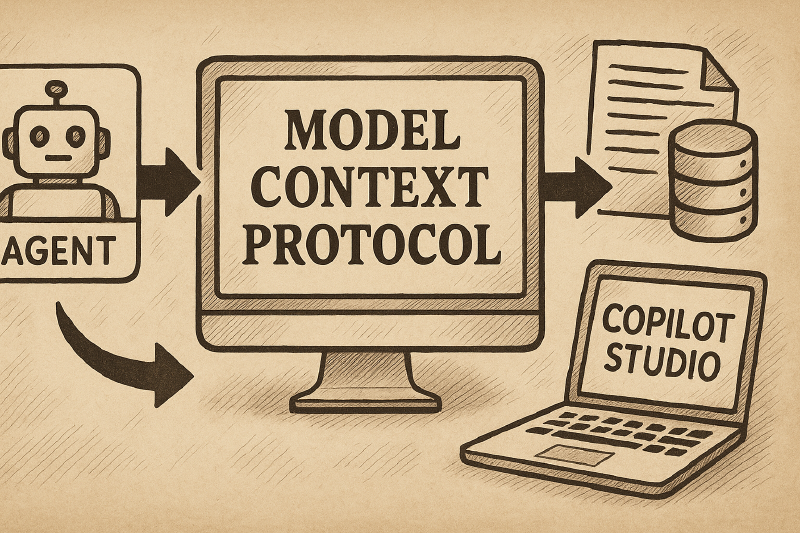
In the previous post, we introduced the Model Context Protocol (MCP) and we’ve learned how platforms can use it to expose services to AI applications. You can think of it like an API platform, but optimized for AI applications: data output is optimized for LLM consumption; every service and its input are carefully described in natural language; etc. We have also built a simple MCP server that simulates a service to track vacation requests from employees. In the post, we were able to test our implementation thanks to Visual Studio Code and the recent MCP support that was added to GitHub Copilot. However, it wasn’t a very realistic scenario: I don’t think many people are really interested in using GitHub Copilot to request days off to their employer 😊. In this post, we’ll make the MCP server a bit more useful by enabling an agent to use it. Today, we will focus on the low code experience with Copilot Studio, while in the next post we’ll explore the pro-code experience with Semantic Kernel.
Implementing the SSE transport protocol
Copilot Studio has recently added preview support for MCP using the SSE transport protocol, which is a way to stream data over HTTP. In such a scenario, in fact, we can’t use the stdio approach we used in the previous post, since the client doesn’t run locally (like in the case of Visual Studio Code), but it’s an agent in the cloud. However, SSE is scheduled for deprecation in the latest MCP specifications and replaced by HTTP Streaming. The good news is that this new protocol is backward compatible with SSE, so the code we’re going to write today will work with both protocols, enabling Copilot Studio to use it as well.
Let’s move forward and reimplement the MCP server we built to use the HTTP Streaming / SSE transport protocol. The boilerplate code to manage and track vacation days request will be the same, and also the implementation of the class that exposes the functions as MCP tools. However, we’ll need to slightly change the underline architecture, since HTTP Streaming / SSE work in a different way than stdio. Being based on HTTP, we need a real server which is up & running and capable of managing the requests from the agents. As such, the MCP SDK for C# includes a few helpers that you can use to turn an ASP.NET Web application into an MCP server.
Let’s start by creating a new ASP.NET Web application. You can do this using the command line or Visual Studio. In both cases, we can use the ASP.NET Core Empty template, since we won’t need any of the default features that come with the web or API template. If you’re using the command line, you can run the following command:
| |
As the first step, we must also add to this project the MCP SDK for C# and the Azure Table SDK, which are available as a NuGet packages. You can do this using the command line or Visual Studio. If you’re using the command line, you can run the following commands:
| |
Now make sure to copy all the classes we created in the previous post to manage the MCP tools and the vacation requests into this new project:
Employee.csandEmployeeVacationEntity.csinside the Entities folder. These classes map the employees and the vacation requests tracked in the Azure Table Storage.EmployeeVacationService.csandIEmployeeVacationService.csinside the Services folder. These classes expose the methods to manage the vacation requests.EmployeeVacationTool.cs. This class exposes the methods to manage the vacation requests as MCP tools.
Now we’re ready to implement the MCP server using the SSE transport protocol. This operation is really easy to do thanks to some helpers included in the MCP SDK for C#.
Just open the Program.cs file and, before builder.Build() is called, add the following code:
| |
The three methods are used, in order, to:
- Add the MCP server to the ASP.NET Core pipeline.
- Configure the server to use the HTTP transport protocol.
- Register the tools that we want to expose to the agents. In this case, we are exposing the EmployeeVacationTool class, which contains the methods to manage the vacation requests.
Then, before calling the app.Run() method, add the following code to register the MCP endpoints:
| |
That’s it! Now, we’re still missing some code, which is the same one we wrote in the previous post to register the EmployeeVacationService class in the dependency injection container and to initialize the database with some test data in case it’s empty.This is how the final Program.cs file should look like:
| |
Before testing the server, we need to add the connection string for Azure Table to the appsettings.json file. You can do this by adding the following snippet:
| |
This is the connection string to use Azurite, the local emulator for Azure Storage.
Now we’re ready to run the server. Before doing that, make sure to run the Azurite Table Service emulator, like we did in the previous post:
- You can click on the [Azurite Table Service] label in the Visual Studio Code application bar.
- You can open the command palette (Ctrl+Shift+P) and run the Azurite: Start Table Service command.
Now press F5 to launch the debugging experience. If everything goes well, you should see the server starting up and a new browser opening up on the URL http://localhost:5248/. You will just see a message like the following one:
| |
This means that the MCP server is up and running. In case the client connects using the HTTP Streaming protocol, all the GET and POST operations will be managed by the same endpoint, which is the root of the server. To support SSE, instead, the server must expose two different endpoints:
/sse, which supports a GET request to establish the connection/message, which supports a POST request to send messages to the server
You can see that the MCP SDK for C# provides backward compatibility with the SSE protocol by invoking the URL http://localhost:5248/sse in your browser. You should see the same exact response as before, meaning that the SSE transport protocol is working as expected.
Using the MCP server with Copilot Studio
To expose the MCP server to Copilot Studio, we need first to create a dev tunnel between our local machine and the cloud. Copilot Studio runs in the cloud and cannot directly connect to localhost. Thanks to a dev tunnel, we can test our MCP server implementation without deploying it to the cloud. In Visual Studio Code, you can create a dev tunnel by clicking on the Ports tab in the bottom panel:

Click on the Forward a Port button and enter 5248 as port number. Visual Studio Code will create a public URL that points to http://localhost:5248. Before using it, however, we need to make the URL public, since by default Visual Studio Code creates private tunnels. Right click on the URL, choose Port Visibility and select Public. You will see a message asking to confirm, click Continue and notice how the Visibility column should be set to Public now.

Now that we have a public URL, we are ready to move to Copilot Studio. As the first step, open the Copilot Studio portal. Copilot Studio enables MCP support through custom connectors. Power Platform has a catalog of 1000+ connectors, which enables makers to build agents that can connects to a wide range of platforms and services from Microsoft and 3rd parties, like Outlook, Excel, SharePoint, ServiceNow, SAP, etc. In case you need to connect to a service that is not available in the catalog (like an internal LOB application), you can create a custom connector. This is exactly what we need to do in this case, since Copilot Studio offers MCP support through a special custom connector.
Custom connectors aren’t immediately visible in the portal. The easiest way to find them is to open the Power Apps portal and, in the left panel, click on More, then press Discover all.
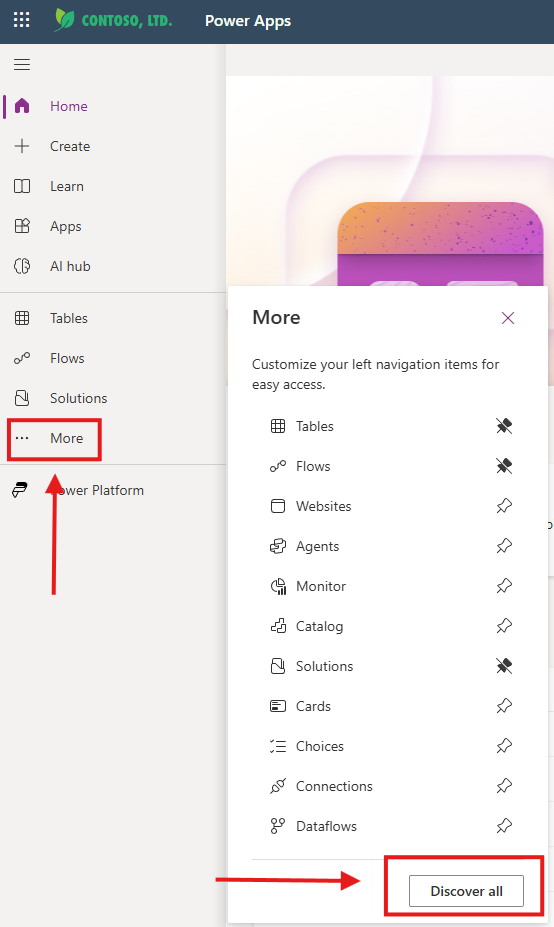
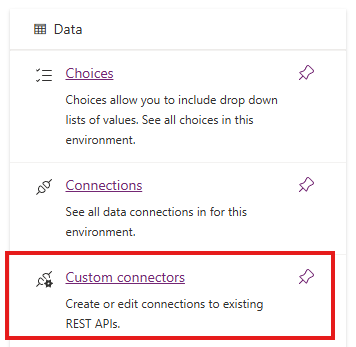
You will land on a page titled Discover all you can do with Power Apps. Scroll down until you see a box titled Data and click on the Custom connectors option on it.
Tip: you can click on the Pin icon on the left to pin the custom connectors option to the left panel, so that you can easily access it in the future.
In this page, you will see a list of all the custom connectors you have created (or an empty page, in case you have none). Click on the + New custom connector button at the top right and select Create from blank. Give it a meaningful name, like MCP Vacation Requests and click on Continue. You will be redirected to the wizard to create the custom connector. However, in our case we’re going to ignore it, since we’re going to leverage the Swagger editor to prove an OpenAPI definition of the connector. As such, click on the Swagger editor switch in the top bar.
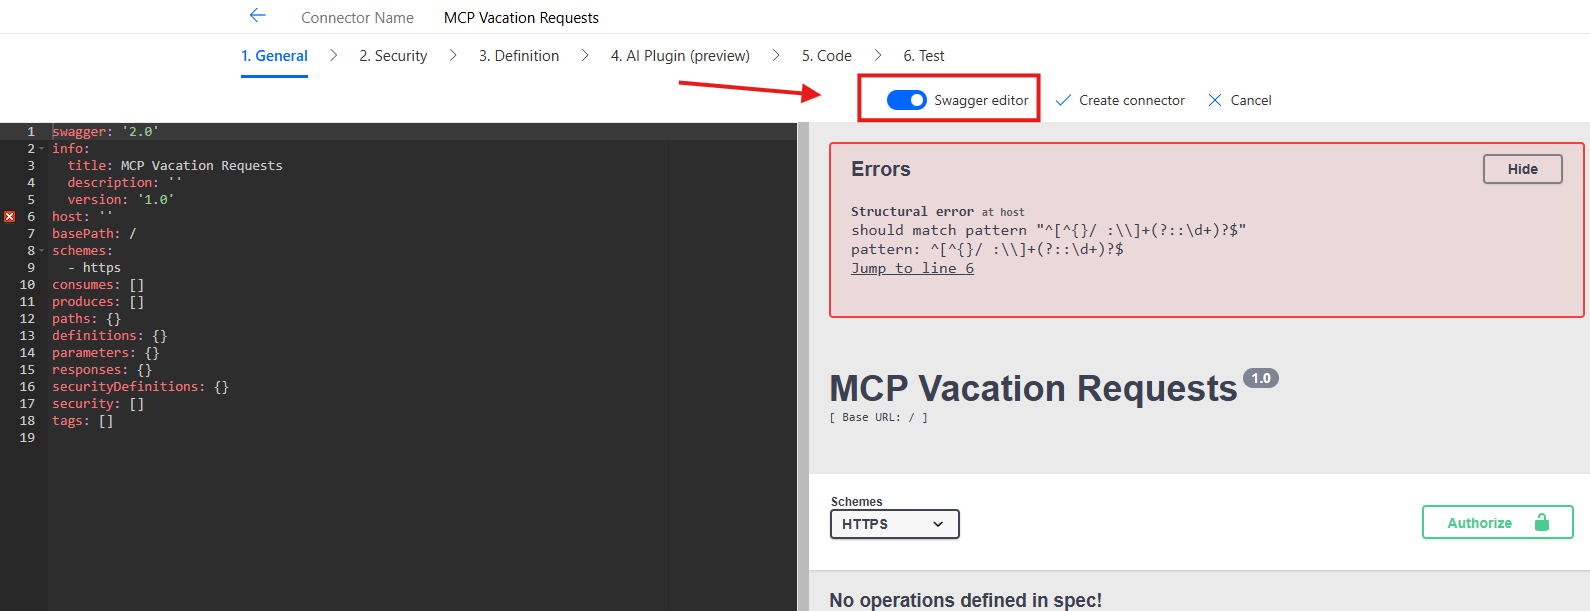
OpenAPI is a standard format (based in JSON or YAML) that you can use to describe an API. For our own purpose, we can use a standard definition, since the SSE transport protocol doesn’t have a dependency on the tools we expose. As we have learned in the beginning of the post, an MCP server which uses the SSE transport protocol always exposes two endpoints: /sse and /message. It will be up to client to call them in the proper way to get the list of tools and invoke them when needed.
As such, you can just copy and paste the following OpenAPI definition in the Swagger editor:
| |
The only thing you must change is the <your-dev-tunnel> placeholder, which should be replaced with the public URL you got from Visual Studio Code. For example, if your public URL is https://qfpn28w9-5248.euw.devtunnels.ms, you should replace the placeholder with qfpn28w9-5248.euw.devtunnels.ms (make sure to remove the HTTPS prefix).
The key feature of this OpenAPI definition are the Agentic and McpSse tags, which are used by Copilot Studio to identify the custom connector as an MCP server.
Now you can click on Create connector to complete the operation and return to the custom connector page. You should see the new connector in the list. Now it’s time to create our agent!
Use the MCP server with an agent
Now let’s go back to the Copilot Studio portal and create a new agent. For our scenario, we’re going to create a custom engine agent, which are agents which enables developers to customize all their building blocks and that can be published in multiple channels. At the time of writing this post, declarative agents (which are agents that are based on the Microsoft 365 Copilot stack and that can be used only through Copilot Chat) don’t support MCP yet.
Click on the Create button in the left panel and select New agent. By default, this will trigger the experience to create a new agent through an assisted wizard based on natural language. For our demo purposes, let’s just click on Skip to configure at the top right of the page.
Now let’s provide the following information:
- Name: Vacation Tracker Agent
- Description: An agent that can hel p employees to track their vacation requests
- Instructions: You are an agent which is specialized in helping employees to track their vacation requests. You can help them to request new vacation days, check the status of their requests and get the number of vacation days left.
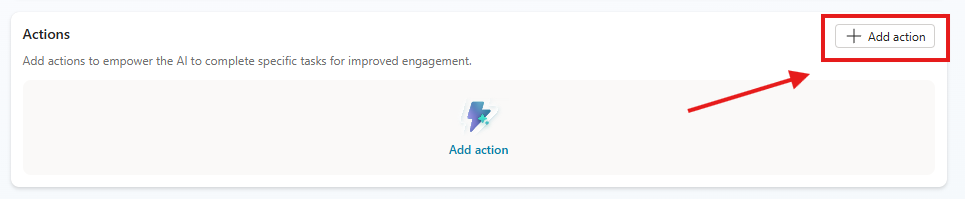
Now hit Create at the top right of the page and wait until the agent is created. Once the operation is completed, first we need to turn on Orchestration, which enables Copilot Studio to use Generative AI to automatically determine the best course of action based on the prompt of the user. This way, if we ask the agent a question about vacation requests, it will be able to determine automatically that it needs to call the MCP server. However, now we need to actually empower the agent to use the MCP server. We do this by going to the Actions section and clicking on the Add action button.
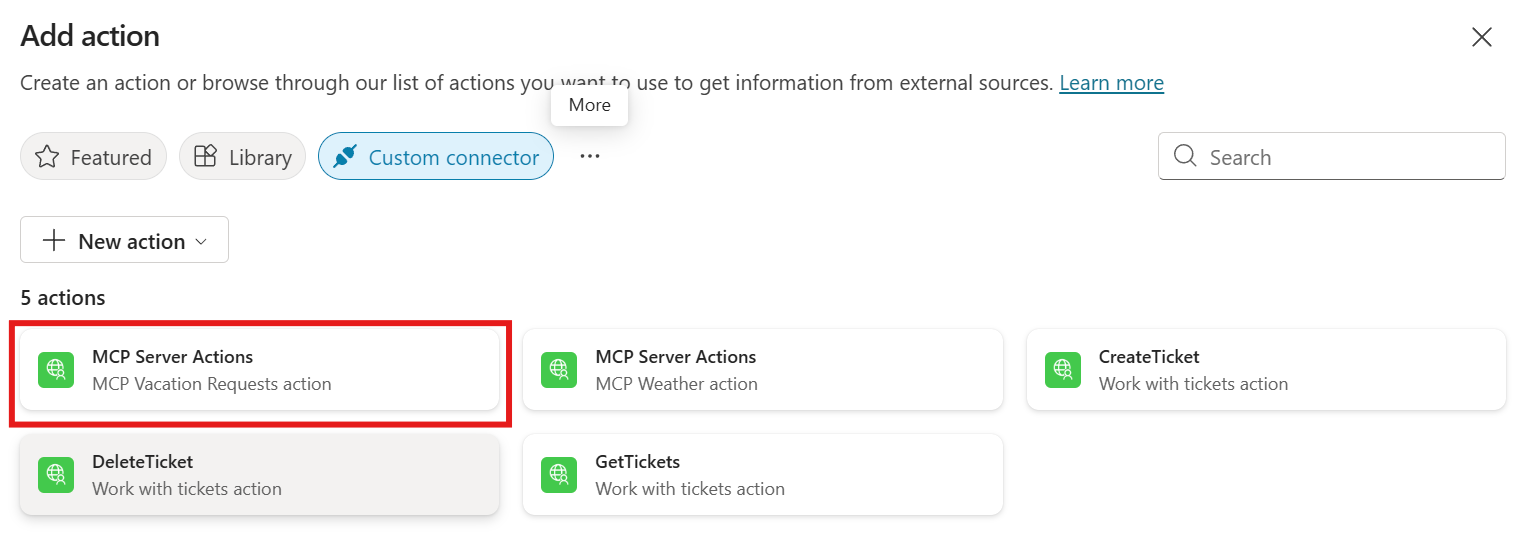
To easily find the MCP server from the list, click on the three dots and choose Custom connector. This way, the gallery will be filtered to display only the custom connectors. You should see the MCP Vacation Requests connector we have previously created.
Click on it. As the first step, you will be asked to setup a connection. You won’t have to do anything, just wait until a green check shows up next to the MCP Vacation Requests connector and click Next.

The next step is to setup the action, by providing a description, inputs and outputs. Wait a minute, isn’t the goal of MCP to move this type of configuration from the client to the server? You’re exactly right! We have already described the purpose of our tools and the input parameters when we implemented the MCP server, so we won’t have to do anything here. We can leave the default descriptions, even if at a glance they don’t make much sense since they’re very generic.
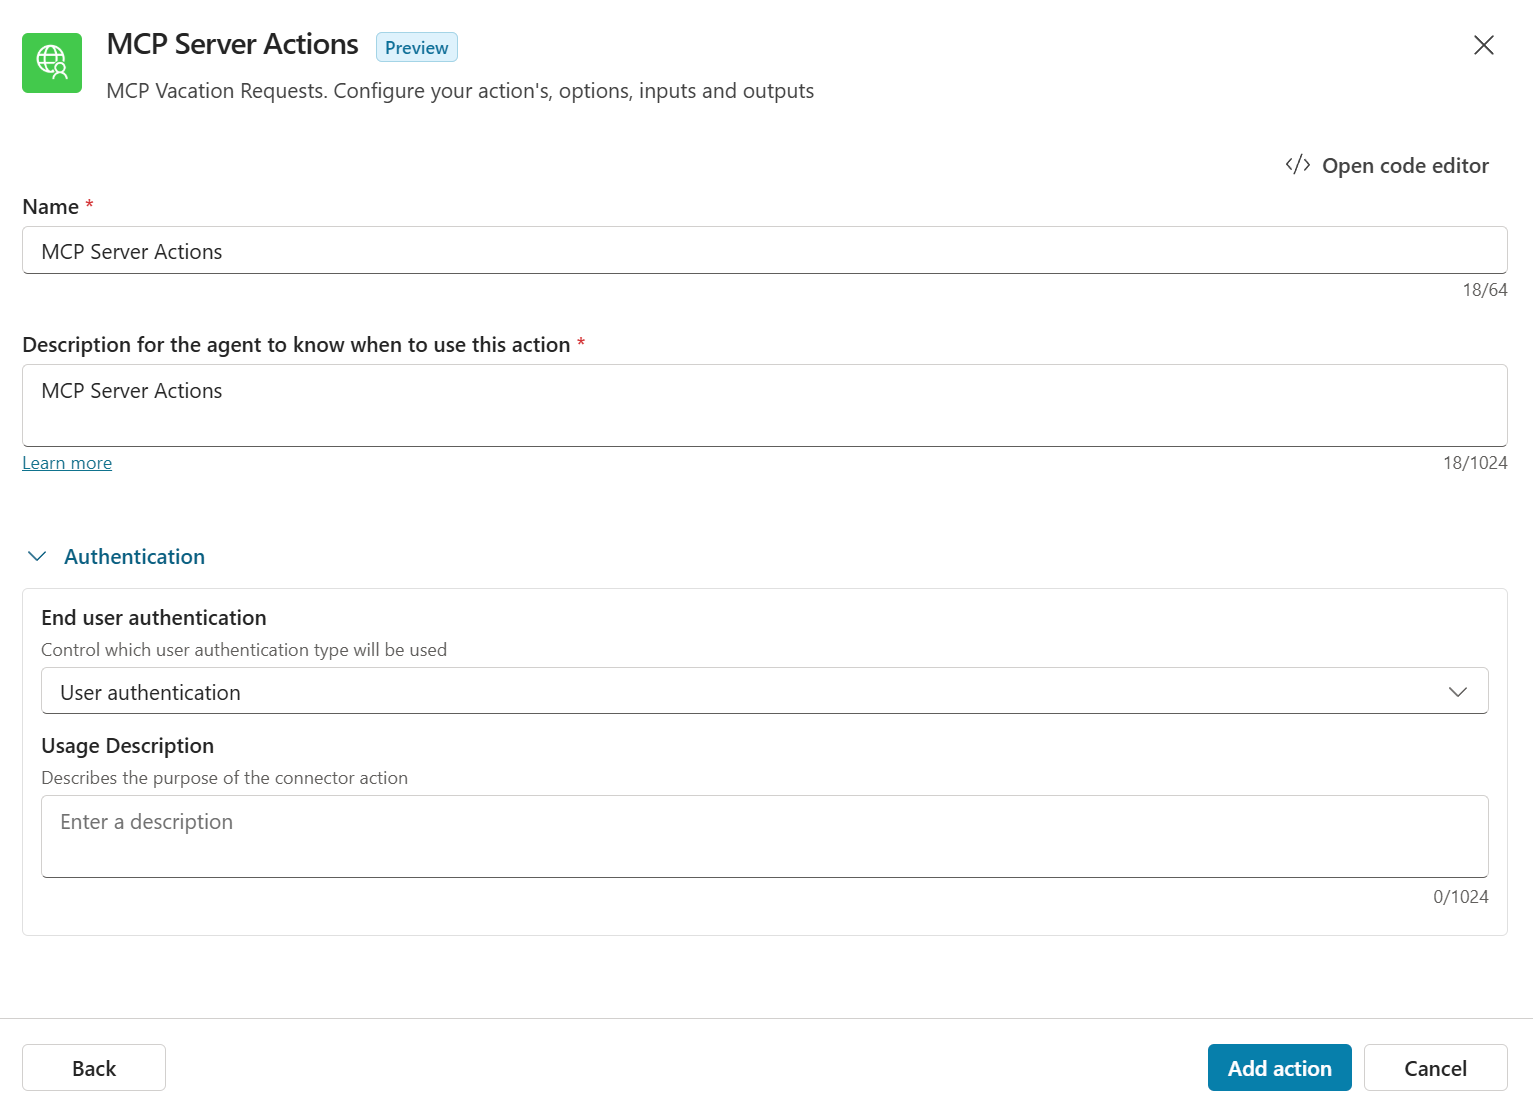
Just click on Add action and wait for the operation to complete. That’s it! All the plumbing between our agent and the features offered by our vacation tracking service will be managed by the MCP protocol. However, before testing the agent, we need to make a change in the MCP server configuration to support a Copilot Studio requirement.
Customizing the MCP server for Copilot Studio
As we have seen when we launched the MCP server, by default the main endpoint returns the following message:
| |
However, Copilot Studio requires that the data property doesn’t contain just the relative path to the endpoint, but also the full URL. As such, we need to customize the MCP server implementation we built to accommodate this requirement. Unfortunately, the MCP SDK for C# doesn’t provide a way to do this out of the box, so we need to manually implement a custom MCP endpoint. Copy and paste the following code in the Program.cs file, after app.Run():
| |
This code is a custom implementation of the MCP server that uses the SSE transport protocol. The key part is the host variable, which contains the public URL of the server. You must replace the URL in the sample with the dev tunnel that you have previously created in Visual Studio Code.
The final step is to remove the app.MapMcp() line we added before and replace it with the following one:
| |
This is required because we’re providing our own implementation of the MCP server, so if we would keep both we would get an error because we are trying to register two different implementations of the same endpoints.
If you now launch the server again and open the URL http://localhost:5248/sse, you should see a message like the following one:
| |
This means that the server is now exposing the full URL of the endpoint, which is what Copilot Studio requires.
Now we can go back to the Copilot Studio portal and test our agent.
Testing the agent
Copilot Studio provides a built-in chat interface that you can use to test your agent. You will find it in a panel on the right side of the page. Type the following prompt:
| |
The first time you execute a prompt like this, Copilot Studio will ask permissions to run this action, since it’s the first time we’re using the custom connector.
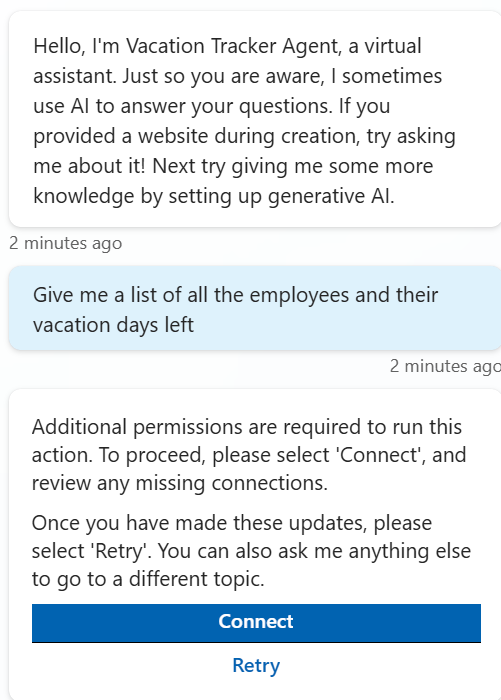
Click on Connect and you will be redirected to a page like this:
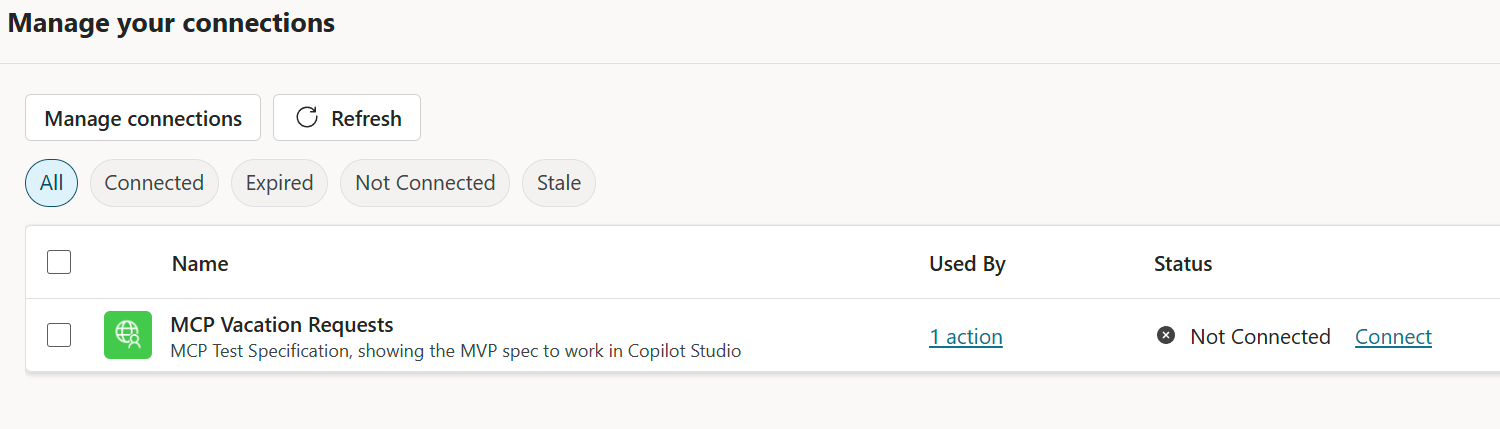
Click on Connect under the Status column and, in the pop-up that shows up, click on Submit. Wait until the operation is completed and the status becomes Connected with a green check. Now you can go back to the chat interface and click Retry.
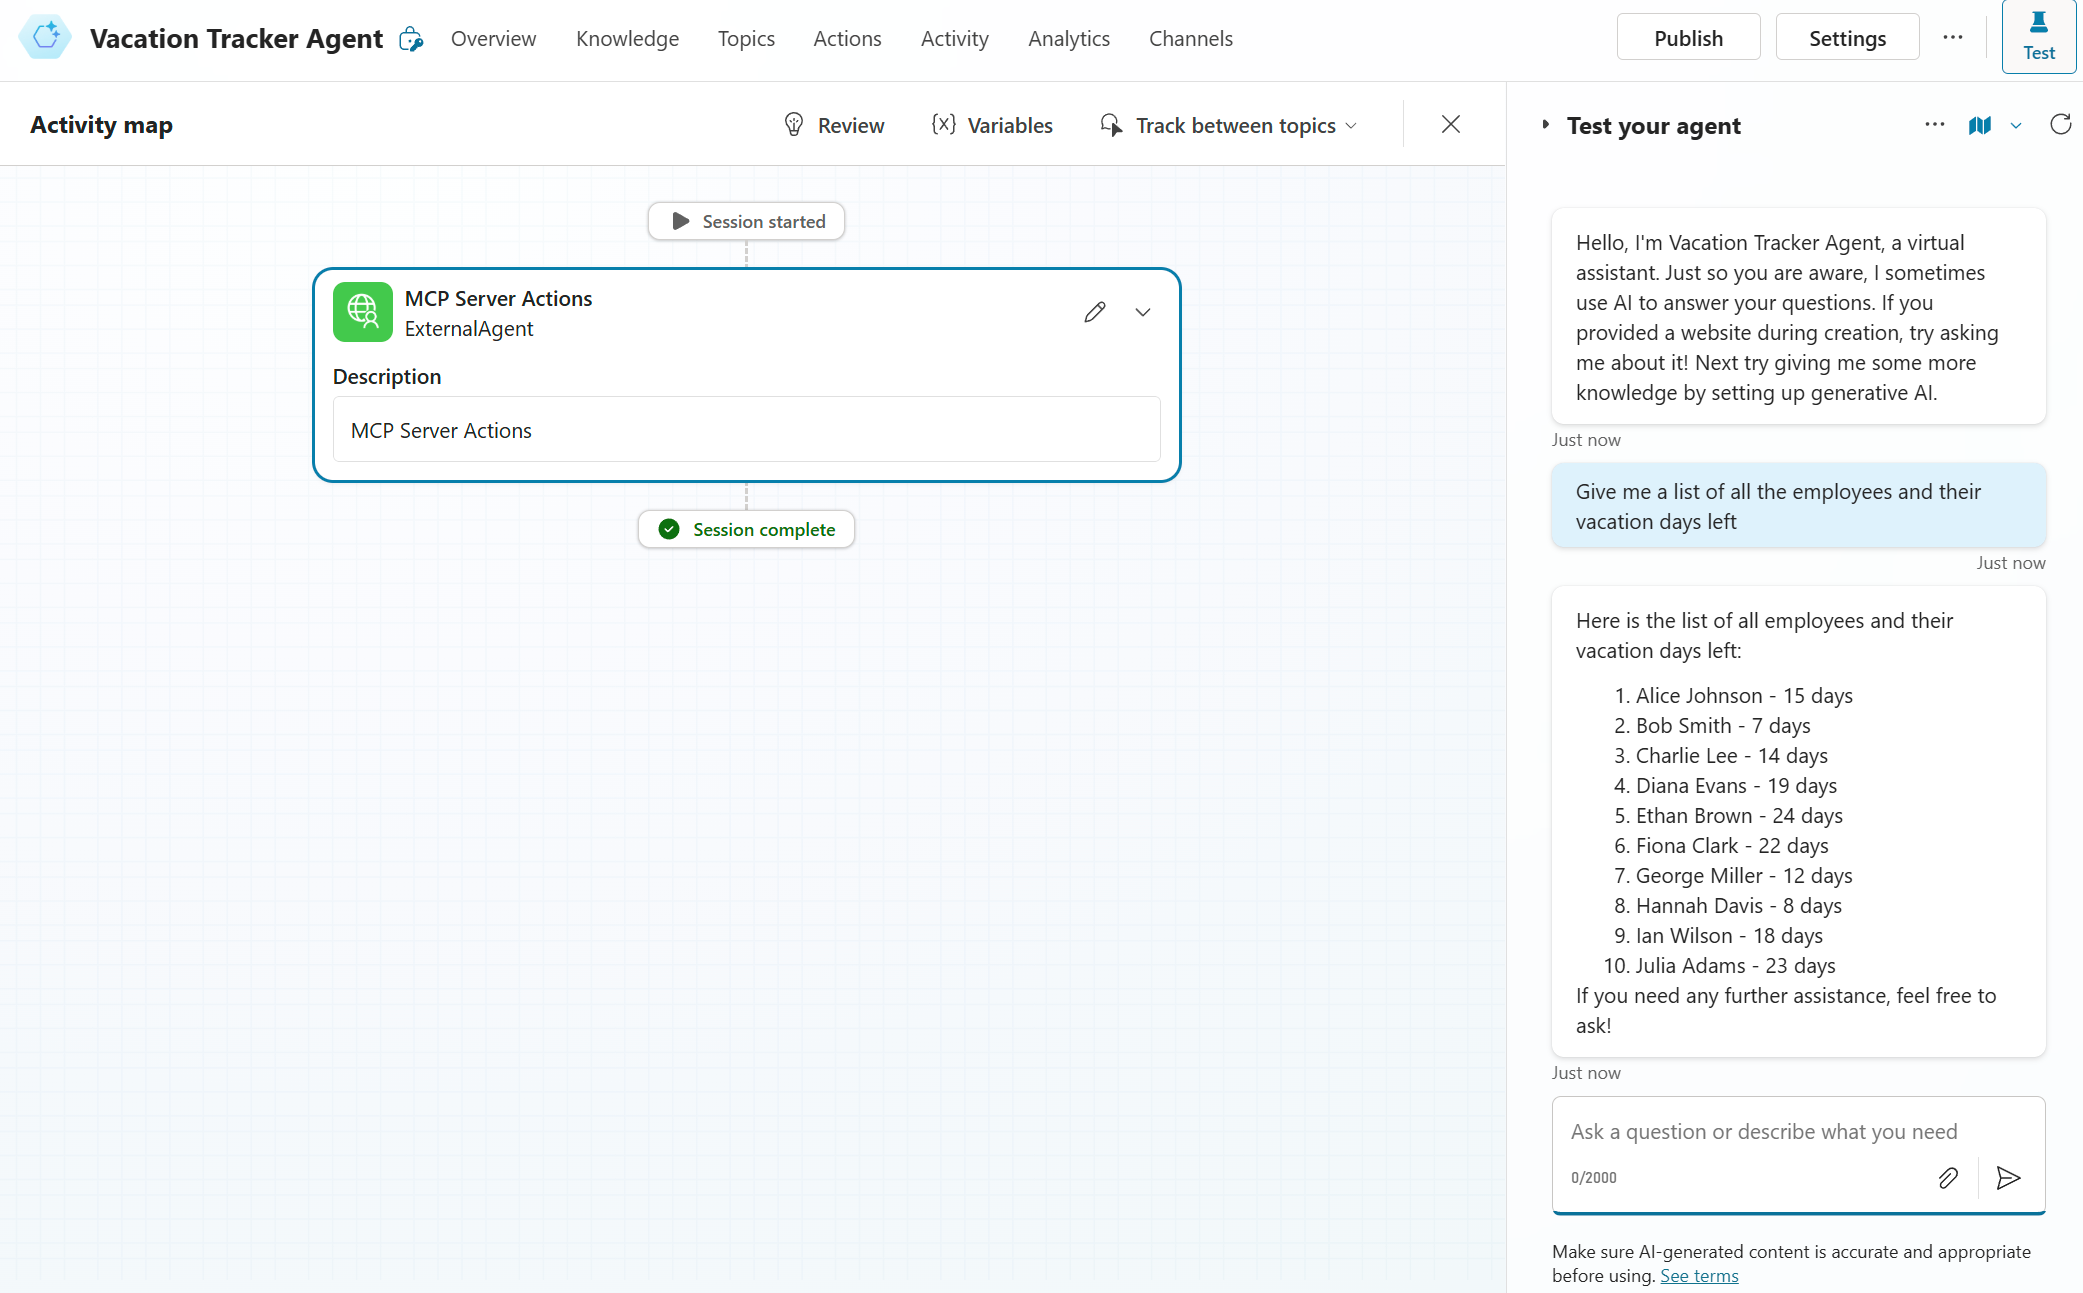
If everything goes well, you should see the Activity map showing the agent calling the custom connector. In the test agent panel, instead, you should see a similar response to the one that in the previous post we have observed in GitHub Copilot: a list of employees and their vacation days left.
Well done!
Wrapping up
In this post, we have learned how to implement an MCP server using the SSE transport protocol and how to use it with Copilot Studio. The feature is still in preview and we have seen that the experience is still not perfect:
- We had to implement a custom MCP server to support Copilot Studio’s requirement for the full URL of endpoints, which typically isn’t required by other MCP clients.
- We have to wrap the MCP server in a custom connector, which is a bit cumbersome and not very user friendly.
Despite that, it works really well and it’s really effective in connecting our custom engine agents built with Copilot Studio to tools exposed by the MCP server.
If you want to experiment with the sample, you can find the code in the SSE folder of the GitHub repository. Be aware that in the folder you will see other projects. The reason is that, to simplify the deployment of the solution, I’ve wrapped it in an Aspire project, which tremendously help with logging, tracing and management. We will cover more about the Aspire implementation in the next posts, however for the moment you can just ignore it and simply launch the MCP.SSE.Server project directly.
Happy coding!