Let’s continue our journey through our rap battle between agents! In the first post, we have introduced AutoGen Studio, a low code tool that we can use to build multi-agent scenarios using a visual interface and JSON; in the second post, we have enhanced the rap battle by adding the ability to use tools and to support a more complex team orchestration; in this post, we’re going to switch from AutoGen Studio to AutoGen code and see how we can run our rap battle from an application.
Let’s start!
Setting up the environment
To run the code I’m going to use a Jupyter notebook, which is a convenient way to run Python code interactively without having to write a full application. Jupyter notebooks can run pretty much everywhere, even in the browser. In my case, I’m going to use the built-in Jupyter notebook support in Visual Studio Code. Open Visual Studio Code and choose File -> New file. Visual Studio Code will ask you for the type of file you want to create, one of the options will be Jupyter Notebook. Choose it.
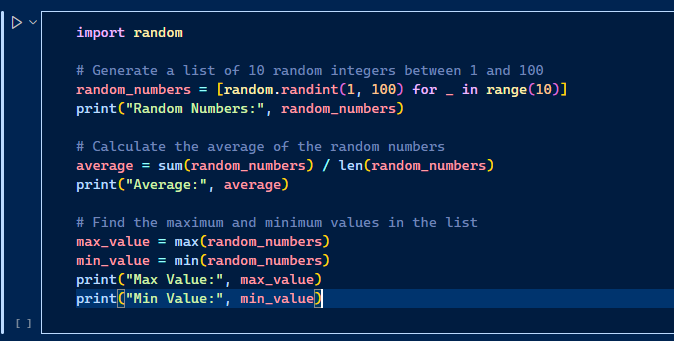
A Jupyter notebook is made up by different blocks, which can contain code or Markdown. When a block contains code, you will see on the left a Run button, which you can use to run the code in the block.

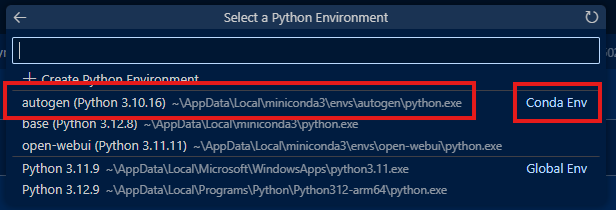
The first step is to select the Python kernel we want to use to run our code. You can choose it by clicking on Select Kernel at the top right corner of the notebook:

You will see a series of options, choose Python environments. You should be able to see not just the default Python installation you might have in your system, but also the virtual environment we created in the first post with Conda. Choose this one, since it already contains all the dependencies we need to support AutoGen, because we have already installed AutoGen Studio in the same environment.

Now we’re ready to run some code! It shouldn’t be necessary, but just to be safe and ensure we have everything we need, let’s run the following code in the first block to install the AutoGen dependencies using the Python package manager:
| |
Now we’re ready to actually use AutoGen!
Running the rap battle reusing the work we did in AutoGen Studio
As the first step, create a new code block by clicking on the + Code button at the top of the notebook. We’re going to use a new block, since we don’t want to repeat the installation of the dependencies every time we run the notebook. The first approach to running the rap battle in code is to reuse the work we did in AutoGen Studio. In fact, the JSON that defines a team configuration can be directly loaded in code.
First, we need to go back to AutoGen Studio and export the team configuration we created in the first post (Make sure to read that post if you haven’t gone through the AutoGen Studio configuration).
From the Start menu or from the Windows Terminal, launch the Anaconda PowerShell Prompt.
Activate the environment we created in the first post by running the following command:
1conda activate autogenExecute the following command to launch AutoGen Studio:
1autogenstudio ui
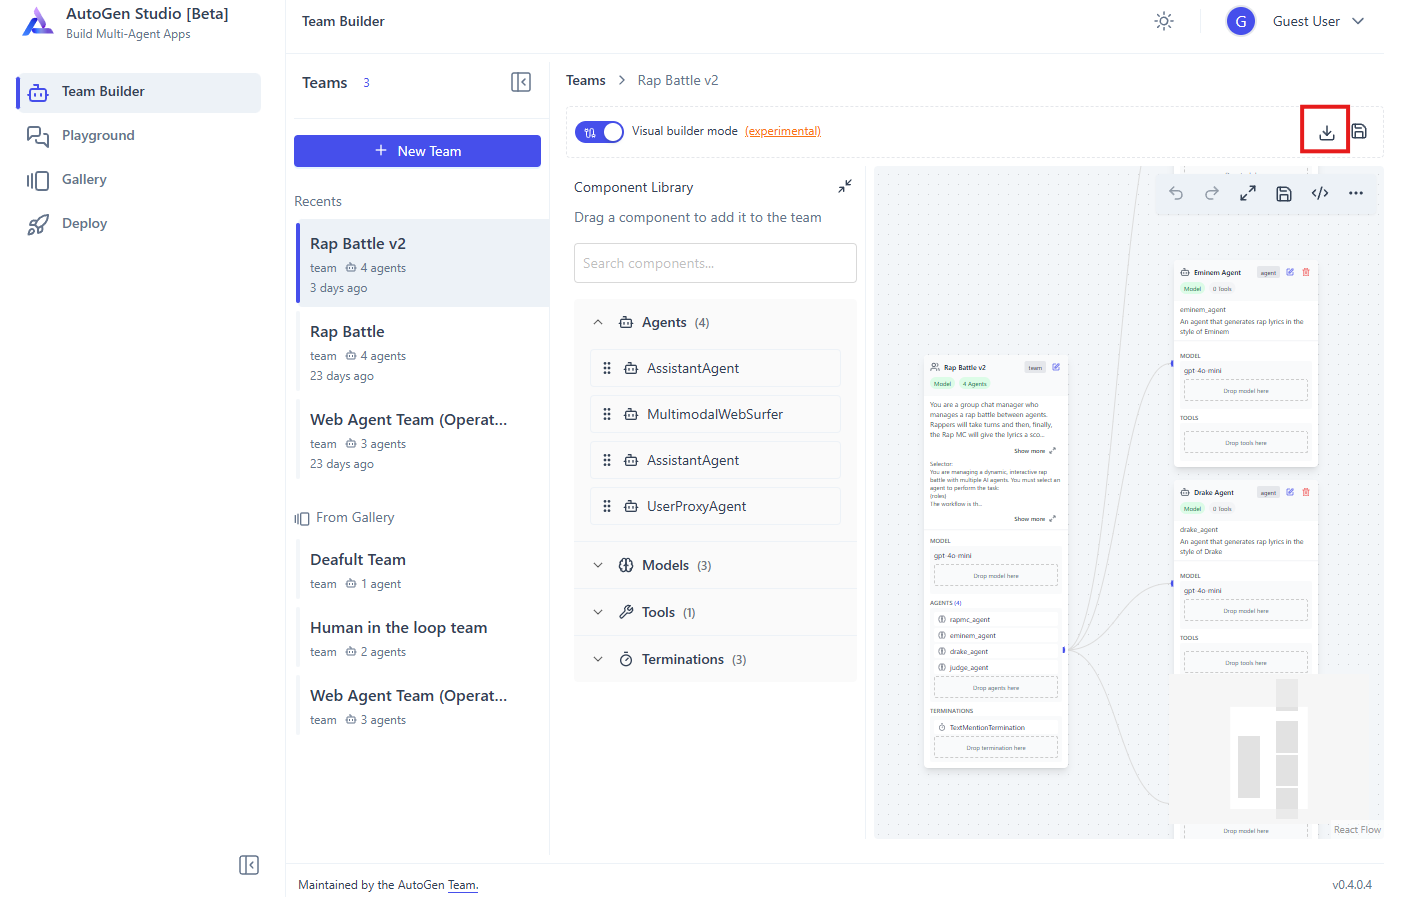
Once the server has started, open the browser on the default AutoGen Studio URL, which is http://127.0.0.1:8081 and look for the team we created in the Team Builder section.
In the top right of the team, you will see a download button. Click on it, AutoGen Studio will start the download of the JSON file with the team configuration.

Make sure to copy the JSON file you’ve downloaded in the same folder where you saved the Jupyter notebook. Now go back to Visual Studio Code and let’s add the following code in the second code block of our notebook:
| |
The code is really simple. We import a class called TeamManager from AutoGen and then we create a new instance of it. The class offers a method called run(), which requires two parameters:
task: the prompt we want to send to the team. In this case, we’re providing the topic for the rap battle.team_config: the path to the JSON file we downloaded from AutoGen Studio.
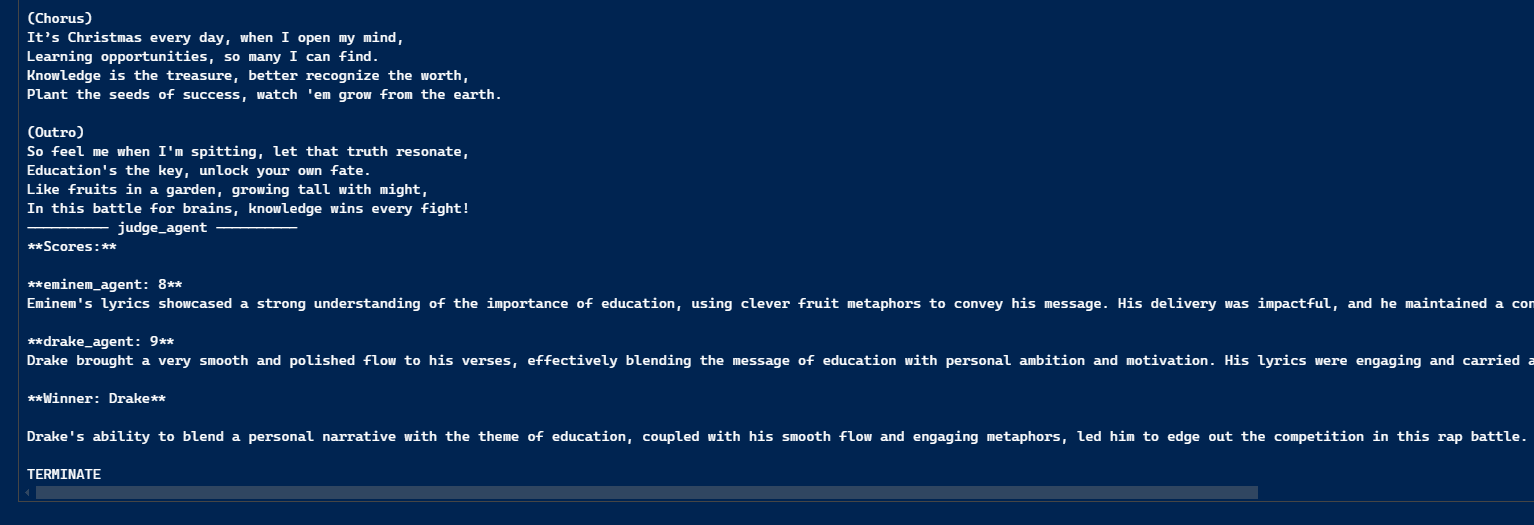
Now click on the Run button near the code block. The rap battle will start and, in the end, you will get an output similar to the one you got in AutoGen Studio, made by 4 messages:
- The Rap MC introduces the topic, calls the Python function to get the list of words and shares them with the rappers.
- The two rappers, Eminem and Drake, generate lyrics based on the topic and including the words.
- The judge determines the winner and terminates the conversation.
However, in this case, since we don’t have a UI, the output won’t be as pretty as in AutoGen Studio. If you want to make it a little bit better, you can replace the code with the following one:
| |
This code will extract each message from the result.task_result property and print the responses of each agent separately, making them easier to read.

But what if you don’t want to use AutoGen Studio and start directly in code? Let’s explore how we can use the raw AutoGen library.
Running the rap battle using the AutoGen library
Let’s create a new code block, so that we can run the two versions of the rap battle separately. In this case, we’re going to use the AutoGen library directly, without using AutoGen Studio.
First, let’s import the classes we need:
| |
Then, we need to define the LLM we want to use. In my case, I’m going to use the OpenAI APIs, so I create an OpenAIChatCompletionClient instance:
| |
If you prefer to use Azure OpenAI, instead, you must use the AzureOpenAIChatCompletionClient class, which requires a couple of extra parameters:
| |
If you want to use other LLMs or SLMs, the official documentation covers the usage of other providers like Gemini, Ollama or Azure AI Foundry.
Now let’s define the function we need to get the list of words, which is the exact same one we saw in the previous post:
| |
Now we can start to define the agents, which are represented by the AssistantAgent class, which is the equivalent of the AssistantAgent object we used in AutoGen Studio.
Let’s start by the Rap MC:
| |
The definition of the agent is pretty easy to understand after we have worked with AutoGen Studio, since we’re setting the same properties, we’re just doing it in code: name, description and system_message, which are the instructions that the agent will follow.
Then we set the model_client property with the model definition we have previously created. Finally, for the mc_agent, we also set the tools property with the collection of functions that the agent can use. In this case, it’s only one function: get_list_of_words().
Now we can move on to the other two rappers:
| |
The two agents are very similar, only the system_message property is slightly different. We use the same model_client and, in this case, we don’t define any tools, since the rappers don’t need to use any function.
Finally, we need to define the judge:
| |
Again, nothing special, only the system_message property is different since it contains all the instructions that the judge must follow, which are quite long and detailed due to the more complex task it needs to fulfill.
The next step is to define the condition termination:
| |
We’re using the TextMentionTermination class, which requires the string we want to use as a signal that the conversation is completed. In our case, it’s the word TERMINATE, which we have included in the instructions.
Finally, we can put everything together in a team:
| |
This is the exact same configuration we did in Agent Studio, just using code:
participantsis a collection of all the agents we have created so far.max_turnsis the maximum number of turns we want to allow in the conversation.termination_conditionis the condition we have created before to use to terminate the conversation.model_clientis the model we want to use.allow_repeated_speakeris a boolean value that indicates if we want to allow the same agent to speak multiple times in a row. In this case, we set it toTrue, since we want the rap battle to continue in case of a tie or a close call.selector_promptis the set of instructions that explains, in natural language, the flow of the conversation, so that theSelectorGroupChatcan orchestrate the conversation and pick the best agent for the task.
Now we have everything we need to run the rap battle! We just need to run it and add some code to display the messages generated by the agent:
| |
The user_input variable must be set with the prompt we want to send to kick off the team chat, in our case the topic of the rap battle. Then, we pass it as parameter to the run_stream() method of the agent_team object we have previously created. We are using the message streaming feature, so that we can see the messages as they are generated, instead of waiting until the whole conversation is completed.
We just need a final step. Since the whole process involves using some asynchronous operations, we need to wrap all the code we have written so far inside a method that we can call using the await keyword. Look at the following example:
| |
You can see the whole code in the GitHub repository.
Now you can just hit the Run button near the code block to start the rap battle! The output will be very similar to what we have observed in AutoGen Studio or in the previous test by loading the AutoGen Studio JSON workflow file.

Being regular Python code, you can use it in any scenario that works best for you, other than testing it in a Jupyter notebook. For example, in the GitHub repository you will find an API implemented with FastAPI, which you can call with any HTTP client to run the rap battle and get back the conversation in JSON. In the same repository, you will find the instructions to run the API locally.
Wrapping up
In this blog post, we have learned how we can turn the multi-agent scenario that we have built with AutoGen Studio into code that we can integrate into a web application, call from an API, etc. If you want to test the integration with other apps, however, there’s a simple way to do that without writing code: by using AutoGen Studio again! In fact, we can use it not just to test the team workflow, but also to expose it as an API. In the next post, I will be honored to greet two members of my team for a guest post, who will share their experience in adding multi-agent scenarios to a declarative agent for Microsoft 365 Copilot thanks to AutoGen Studio!
Remember to check all the files we saw in this post in the GitHub repository.
Happy coding!
